Every week someone asks us the same thing: "Can't I just buy 25 mm² cable and a few lugs and make my own Pylontech parallel cables?" You can. Plenty of people do. But a battery cable is not a speaker wire, and the difference between a good one and a bad one only shows up months later, as heat at a connector. This guide walks through what a DIY battery cable really costs, the tools you need to do it properly, the mistakes we see most often on cables sent back to us, and when buying pre-made is simply the smarter move.
DIY makes sense for ring-lug (M8) cables to a busbar or inverter if you own, or can borrow, a hydraulic crimper with the right dies. For battery-to-battery cables with Amphenol SURLOK Plus connectors (Pylontech, BYD, Goodwe and many others), pre-made is almost always cheaper and safer once you count the connectors, the tooling and the time. A badly crimped connector on a 48 V lithium bank is the single most common cause of hot spots we see.
What a lithium battery cable actually has to do
A 48 V lithium bank can deliver currents that would surprise most people. A single Pylontech US5000 module is specified for continuous currents in the tens of amps, and a stack of four or six modules feeding a 5 kW inverter pushes 100 A or more through the main cables during a surge. At those currents, resistance is everything. One milliohm of extra resistance at 100 A turns into 10 W of heat, concentrated in a few square centimetres of metal. That is enough to soften insulation and, over time, to oxidise the contact surface, which raises the resistance further. It is a slow loop, and it always ends the same way.
So a good battery cable has three jobs:
- Carry the current with low resistance, which means enough copper (25 mm² is the usual minimum for battery-to-battery links on 48 V residential systems) and fine-stranded, flexible conductors.
- Make a reliable contact at each end, for years, despite thermal cycling, vibration and the occasional unplug-replug.
- Stay mechanically safe: insulation rated for the temperature, correct polarity colours, strain relief so the weight of the cable does not pull on the terminal.
The copper part is easy. The two ends are where DIY cables fail.
The tools you really need
Here is the honest list for making battery cables that you would be happy to leave running in your garage for ten years.
| Tool / part | Why it matters | Typical cost |
|---|---|---|
| Hydraulic crimper with hexagonal dies for 25 mm² | Hex crimps compress the lug evenly around the strands. Hammer crimpers and "indent" tools leave voids that heat up. | About €40 to €150 for a hobby-grade tool |
| Cable cutter for 25 mm² and above | A clean, square cut keeps all strands inside the barrel. Hacksaws and side cutters fray the end. | About €15 to €40 |
| Tinned copper lugs sized for the cable AND the stud | A 25 mm² lug for an M8 stud is not the same as one for M10. Wrong barrel size = loose crimp. | About €1 to €3 each |
| Adhesive-lined heat-shrink + heat gun | Seals the crimp against moisture and adds strain relief. | About €10 to €30 |
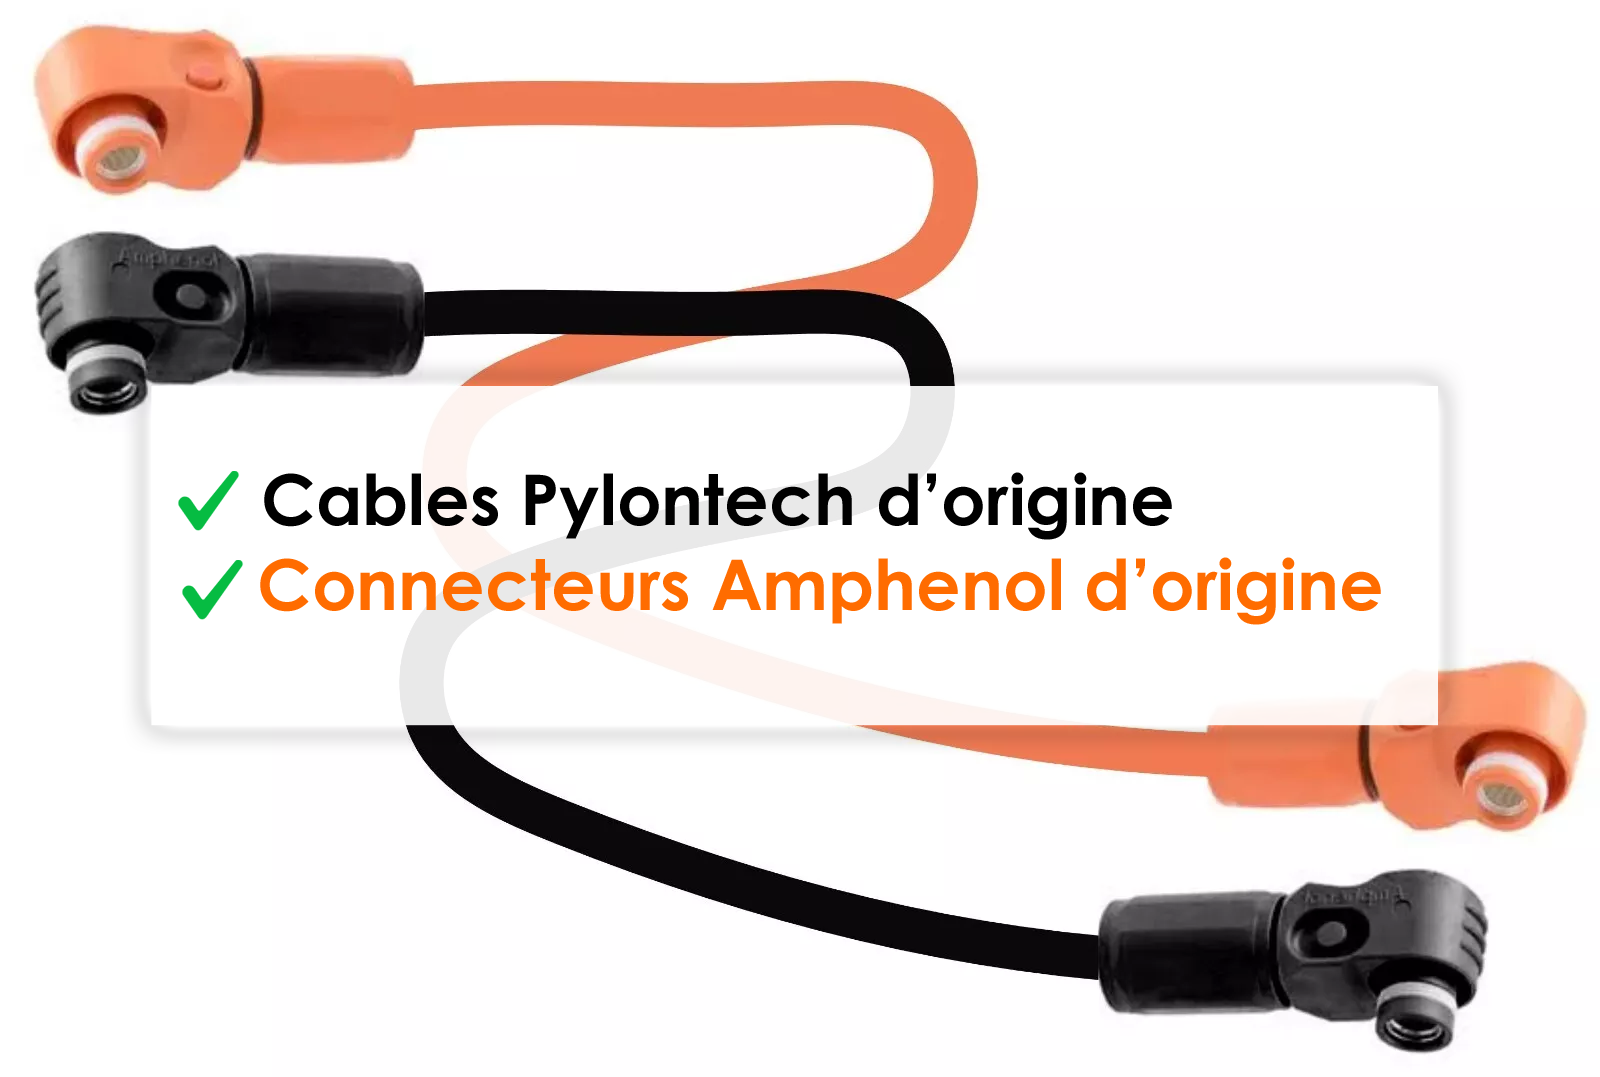
| Amphenol SURLOK Plus connectors (for Pylontech-type batteries) | Genuine connectors are not cheap, and each cable needs one per end on battery-to-battery links. | See our original Amphenol connectors |
| Fine-stranded 25 mm² cable, red and black | Flexible class 5 or 6 conductors bend into a rack without stressing the terminals. | Sold by the metre, usually with a minimum length |
Add it up and the first pair of DIY cables usually costs more than buying them, because you pay for the tools once. The maths only turns in your favour if you are making many cables, or already own the crimper.
The 6 mistakes we see on DIY cables
We assemble battery cables every day, and people regularly send us their own cables to check or to copy. These are the faults that come up again and again.
- Hammer-crimped lugs. They look fine and pass a tug test. Under a thermal camera, at load, they are often the hottest point of the whole installation.
- Wrong lug barrel size. A lug meant for 35 mm² on a 25 mm² cable leaves room around the strands even after crimping. It works at first and loosens with every heat cycle.
- Strands cut off to "make it fit". Trimming strands to push a cable into an undersized barrel removes copper exactly where the current is concentrated.
- Generic look-alike connectors. Some marketplace connectors copy the shape of the Amphenol SURLOK Plus but not its tolerances or contact plating. They lock, but with play, and the contact resistance is higher. We explain how to spot them in our guide on original vs generic Amphenol connectors.
- Unequal lengths in a parallel bank. A DIY builder often cuts each cable "just long enough" for its position. In a parallel bank, unequal cable lengths mean unequal resistance, so the batteries do not share the load evenly.
- Solder instead of crimp. Solder wicks up the strands and makes them rigid right where the cable flexes, and it can creep under sustained pressure and heat. For high-current battery terminals, a correct crimp is the standard.
A lithium bank cannot be "switched off" at the terminals: even with the battery breaker open, the cells are charged. Always work with the batteries switched off and breakers open, one cable at a time, never letting a tool bridge positive and negative. If you are not comfortable with that, have the work done by an installer.
When DIY is a good idea
We are not against DIY. There are situations where it is the right call:
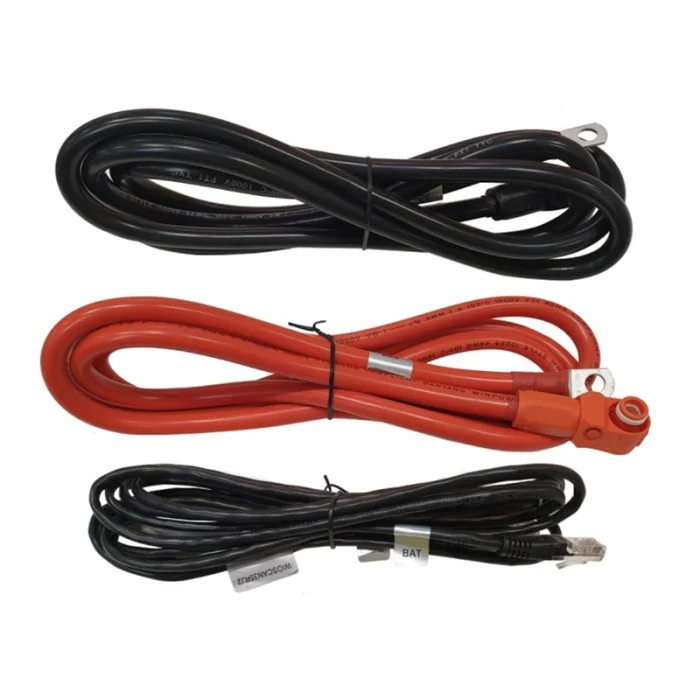
- Ring-lug cables to a busbar, fuse or inverter on a custom installation, where lengths are very specific and you own a proper hydraulic crimper.
- Large or unusual banks where you need many cables of identical length and you are confident in your process.
- Off-grid projects far from any supplier, where waiting for delivery is not an option.
In those cases, test each finished cable: it should not rotate in the lug, the heat-shrink should cover the barrel fully, and after the first hours of operation at load, no terminal should feel noticeably warmer than the cable itself.
When pre-made is the smarter choice
For battery-to-battery links on brands that use Amphenol SURLOK Plus connectors (Pylontech US2000, US3000C, US5000, many BYD and Goodwe modules, Dyness and others), pre-made is nearly always better value:
- The connectors are the expensive part, and you would be buying them anyway.
- The crimp is done with the correct hydraulic dies, the same way on every cable, so a pair of cables has identical resistance.
- Polarity and colours are fixed: orange or red for positive, black for negative, no mix-up at 11 pm in a dark garage.
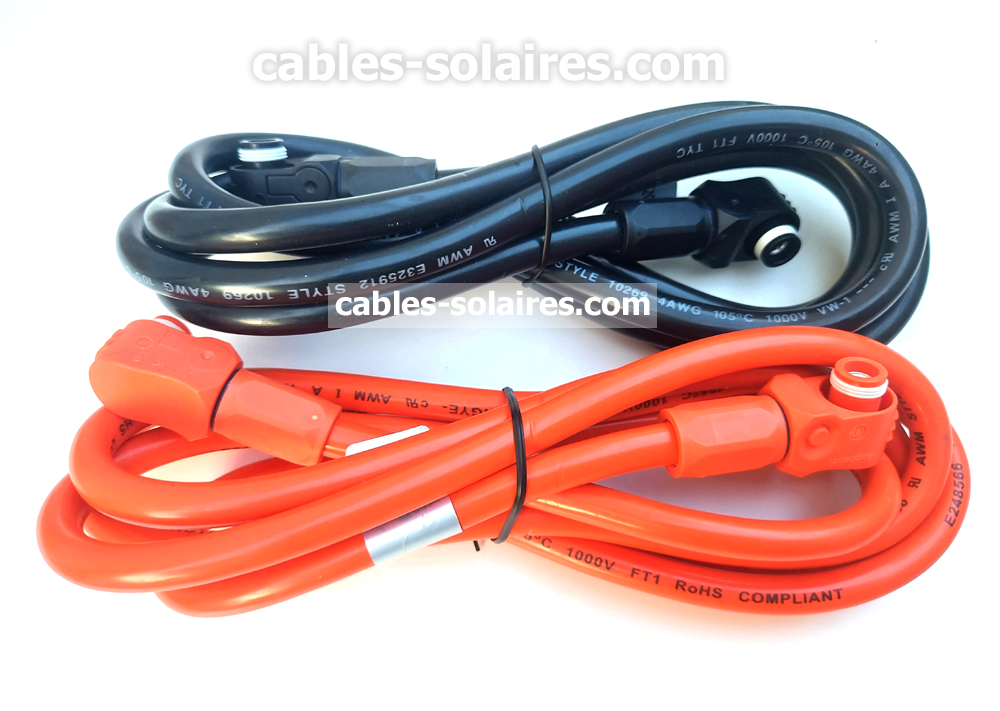
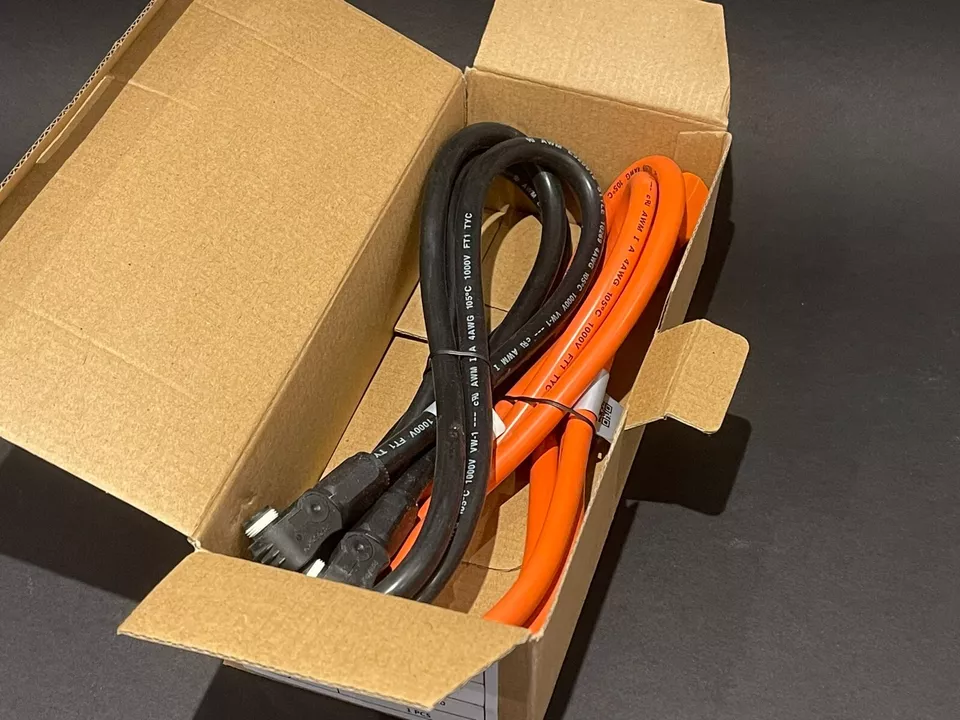
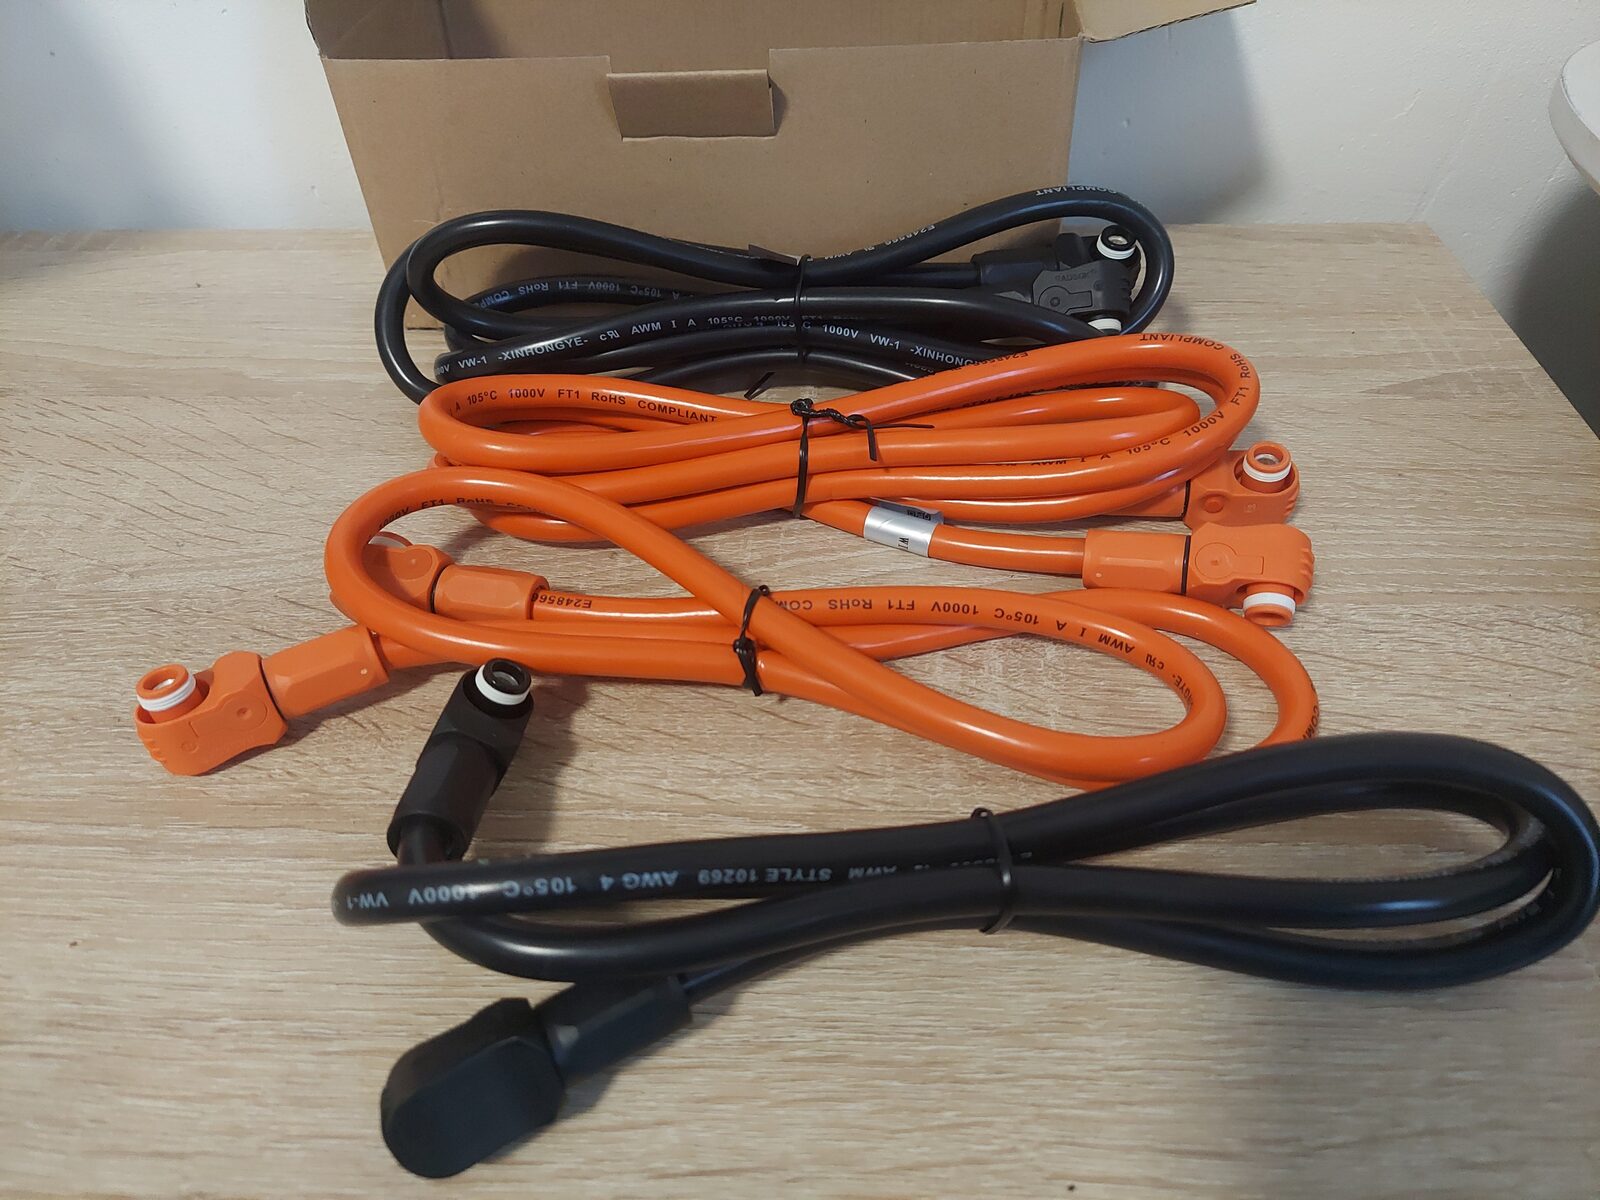
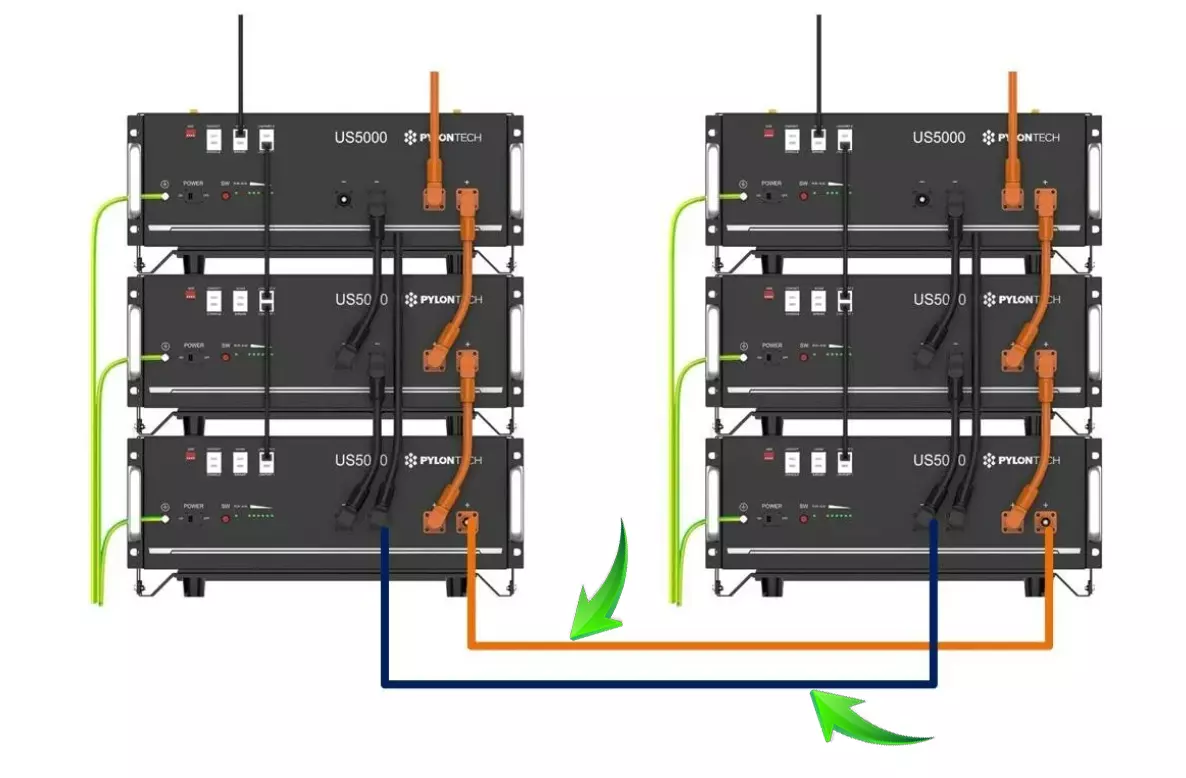
- Standard lengths cover most racks: 48 cm for stacked modules, 70 cm and 1 m for side-by-side or two racks, 2 m for longer runs. See our 48 cm Pylontech parallel cables, 1 m cables and 2 m cables.
And when no standard length fits, our custom cable configurator lets you choose the exact length and connectors, assembled with the same tooling as our standard cables.
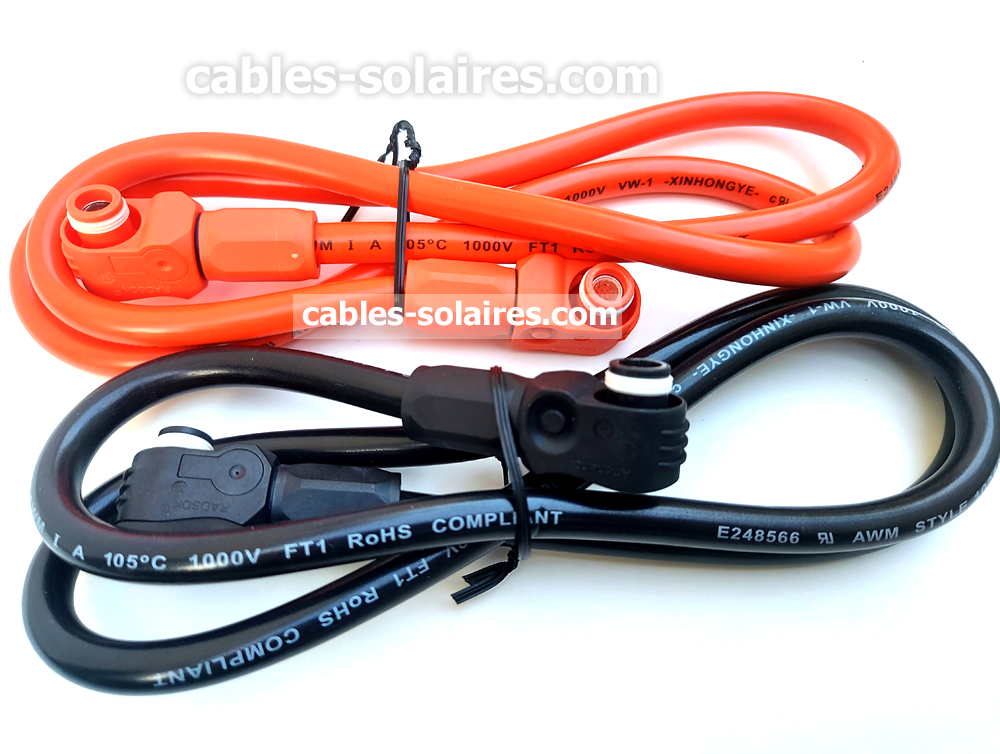
Pre-made parallel cables, assembled in France
25 mm² tinned copper, genuine Amphenol SURLOK Plus connectors, hydraulic hex crimp. Lengths from 48 cm to 2 m, or custom.
DIY vs pre-made: the real cost comparison
Let us take a typical case: you add a third Pylontech module and need one pair of 1 m battery-to-battery cables.
| DIY (no tools yet) | DIY (tools already owned) | Pre-made pair | |
|---|---|---|---|
| Cable | Minimum length purchase | Minimum length purchase | Included |
| Genuine Amphenol connectors | 4 needed | 4 needed | Included |
| Crimper, cutter, heat gun | Full purchase | Already owned | Not needed |
| Time | 2 to 3 hours the first time | About 1 hour | None |
| Risk of a bad crimp | Real | Lower with practice | Controlled |
For a single pair, pre-made wins clearly. For ten cables with your own tooling, DIY can make sense, as long as you use genuine connectors and hex crimps.
Checklist for any battery cable, DIY or bought
- 25 mm² minimum for 48 V battery-to-battery links (check your battery manual for its own recommendation).
- Fine-stranded, tinned copper, with insulation rated for the temperature of your installation.
- Hexagonal hydraulic crimp, lug barrel matched to the cable section, lug hole matched to the stud.
- Genuine connectors where the battery uses a proprietary plug.
- Identical lengths for all cables in the same parallel bank.
- Correct colours and clear polarity.
- No terminal warmer than the cable after a few hours at load.
Frequently asked questions
Can I use welding cable for lithium battery links?
Welding cable is very flexible and often a good conductor, but its insulation is designed for welding use, not necessarily for permanent installation in a building, and its actual copper section can differ from the number printed on it. If you use it, check the real cross-section and the insulation rating. For permanent installations, a cable specified for battery or DC use is the safer choice.
Is 16 mm² enough for battery-to-battery cables on a 48 V system?
For small systems and short links it may stay within limits, but 25 mm² is the usual standard for residential 48 V lithium banks because the current between modules can be high during charge and discharge peaks. Thinner cable means more voltage drop and more heat. When in doubt, follow the battery manufacturer's recommendation and size up rather than down.
Can I solder lugs instead of crimping them?
For high-current battery terminals, a correct hydraulic crimp is the accepted method. Soldering makes the strands rigid at the exit of the lug, where the cable flexes, and solder can creep under pressure and heat. Some installers solder after crimping, but the crimp must carry the load on its own.
Do you make custom battery cables?
Yes. Our custom configurator lets you choose the length, connectors and section. Every cable is crimped with hydraulic hex dies and assembled in France, the same way as our standard range.